Face Count and Detection using YOLOv8
- Published on
- • 4 mins read•––– views
YOLOv8 is used for a wide range of object detection and tracking, instance segmentation, image classification and pose estimation tasks. YOLOv8 offers a powerful feature known as predict mode that is tailored for high-performance, real-time inference on a wide range of data sources.
Why Use Ultralytics YOLO for Inference?
Here's why you should consider YOLOv8's predict mode for your various inference needs:
- Versatility: Capable of making inferences on images, videos, and even live streams.
- Performance: Engineered for real-time, high-speed processing without sacrificing accuracy.
- Ease of Use: Intuitive Python and CLI interfaces for rapid deployment and testing.
- Highly Customizable: Various settings and parameters to tune the model's inference behavior according to your specific requirements.
In this experiment we will try to use pretrained YOLOv8 model to detect and count faces on an image. We also use google colab as our platform today. So, let's jump in! 🤗🤩
1. Import Library
from matplotlib import pyplot as plt
import cv2
After we import the necessary library, the next step is to download the image we want to use. Run this code below if you want to use the example image you always welcome to use other image.
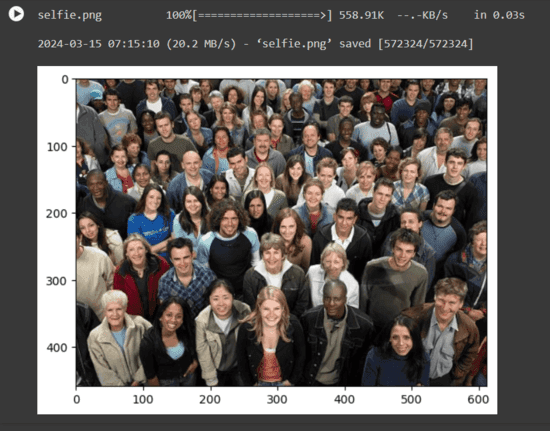
2. Prepare the Image
!wget --no-check-certificate --content-disposition https://github.com/Shizu-ka/bruvv/raw/main/selfie.png

img = cv2.imread('selfie.png')
img_rgb = cv2.cvtColor(img, cv2.COLOR_BGR2RGB)
plt.imshow(img_rgb)
plt.show()
The next step is to download the pretrained model. You can use the pretrained model i provide on my Github.
3. Download Pretrained Model
!wget --no-check-certificate --content-disposition https://github.com/Shizu-ka/bruvv/raw/main/yolov8n-face.pt
After that, the next step is to install Ultralytics. For your information, Ultralytics is a platform for creating, training, and deploying machine learning models with a no-code interface.
4. Install Ultralytics
%pip install ultralytics
import ultralytics
ultralytics.checks()

5. Predict
!yolo task=detect mode=predict model=yolov8n-face.pt conf=0.25 imgsz=1280 line_width=1 max_det=1000 source=selfie.png
The purpose of this command is to detect faces using YOLO from our picture. Here is a little bit of the explanation.
- conf : Sets the minimum confidence threshold for detections. Objects detected with confidence below this threshold will be disregarded.
- line_width : Specifies the line width of bounding boxes. If None, the line width is automatically adjusted based on the image size.
- max_det : Maximum number of detections allowed per image.
You can read what other argument does or improvise according to your needs on Ultralytics Documentation.

6. Count Faces
from ultralytics import YOLO

model = YOLO("/content/yolov8n-face.pt")
img = cv2.imread("/content/selfie.png")

results = model.predict(img)
face_count = sum(len(result) for result in results)
This might look a little bit weird because we predict the image 2 times. But we predict the image again the second time is because we need to save the result as an array to count the faces. You can see it at variabel face_count where it saved the len of the array.
7. Show the Result
img = cv2.imread('/content/runs/detect/predict/selfie.png')
img_rgb = cv2.cvtColor(img, cv2.COLOR_BGR2RGB)

print("Face Count = ", face_count)
plt.imshow(img_rgb)
plt.show()
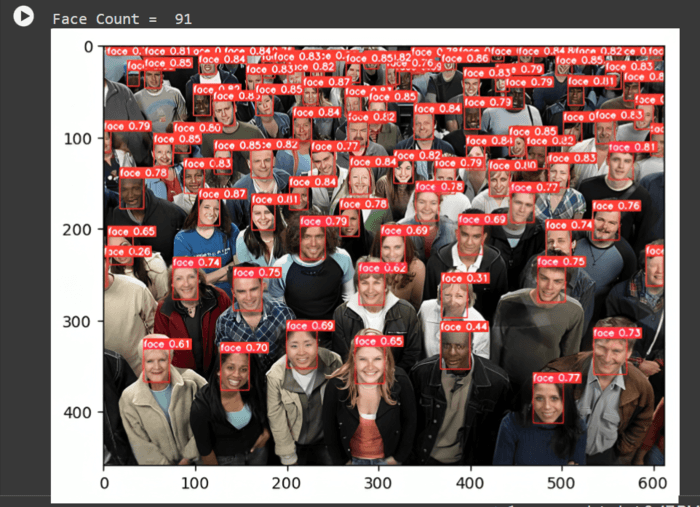
Your output now should look like the picture above. From the result we can conclude that there are 91 faces. You can also see the probability wether something is face or not by the red bounding box in the picture.
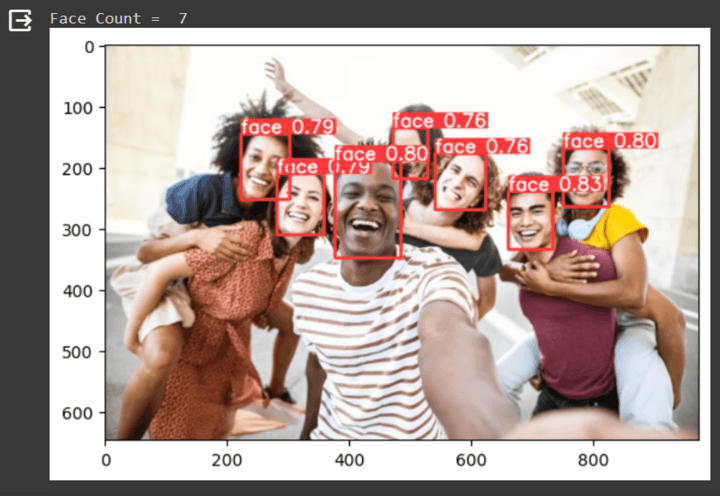
Another Example
References
Happy DLearn-ing!